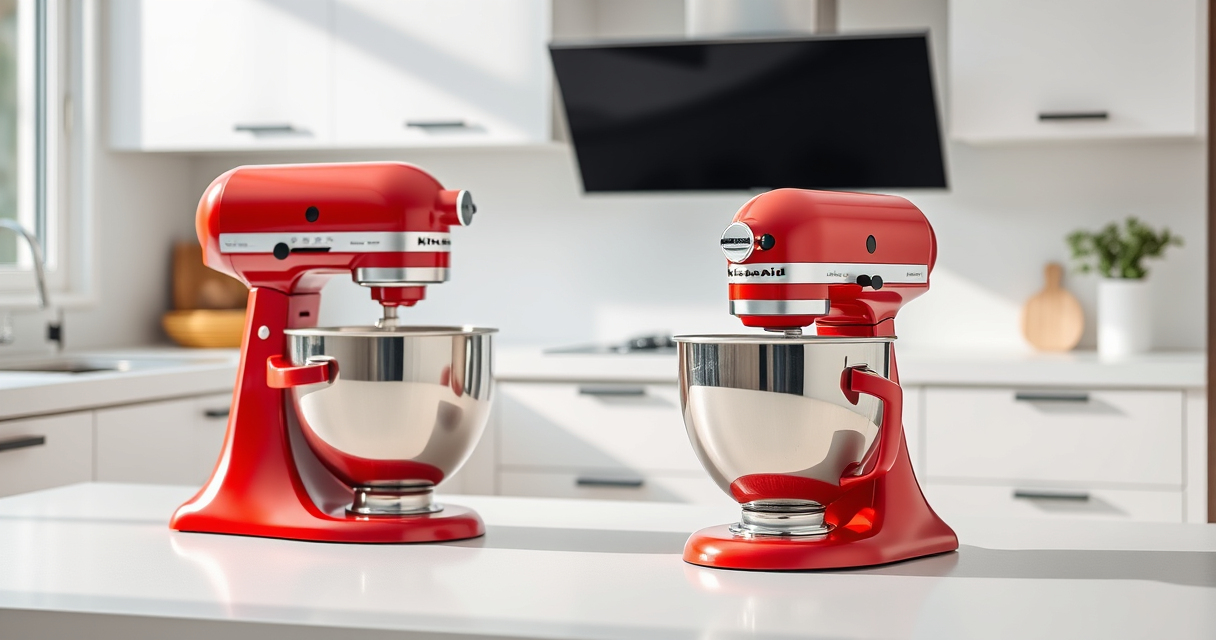

If your KitchenAid Artisan Series 5 Quart Tilt Head Stand Mixer is leaking oil, it can be concerning. While these mixers are built to last, oil leaks can occur due to various reasons, often related to wear or seals. Addressing the problem promptly prevents further damage and keeps your mixer functioning smoothly.

Get home appliances delivered free with Prime
- Fast, free delivery on millions of items
- Prime Video, Amazon Music and more included
- Member-only deals all year
In this guide, you’ll find clear, practical steps to identify the cause of the leak and how to fix it safely. Whether you’re an experienced DIYer or a first-timer, these instructions will help you troubleshoot effectively and keep your mixer in top condition.
Key Takeaways
| Identify the leak source | Determine whether oil is leaking from the gear housing or elsewhere. |
| Check oil levels | Ensure the mixer is not overfilled with oil or lubricant. |
| Replace worn seals | Worn or damaged seals are common causes of leaks and need replacement. |
| Use proper tools | Proper screwdrivers and seal tools are essential for safe repairs. |
| Regular maintenance | Periodic inspection prevents future leaks and extends mixer lifespan. |
Identifying the Source of the Oil Leak
- Unplug the mixer and place it on a stable, clean surface.
- Inspect around the gear housing and beneath the motor head for signs of oil or lubricant pooling.
- Check the area around the drive gear and the bowl lift mechanism for leaks.
- Note if the oil is coming from the top, sides, or bottom of the mixer.
- Understanding the leak’s origin helps determine the necessary repair steps.
Preparing for the Repair
- Gather necessary tools: screwdrivers, seal replacement kit, and a clean cloth.
- Ensure the mixer is unplugged and has cooled down if recently used.
- Place a towel or cloth underneath to catch any residual oil.
- Remove the attachment hub cover and the tilt-head lock screw if needed.
Disassembling to Access Seals
- Carefully unscrew the top cover of the gear housing, following the manufacturer’s instructions.
- Gently remove the gear assembly, noting the placement of gears and seals.
- Inspect the seals for cracks, wear, or damage.
- Clean all parts with a soft cloth and check for any other signs of wear or debris.
Replacing the Faulty Seal(s)
- Match the damaged seal with a new one from the replacement kit.
- Lubricate the new seal lightly with compatible oil or lubricant recommended by KitchenAid.
- Install the new seal carefully, ensuring it fits snugly into place without distortion.
- Reassemble the gear housing in reverse order, tightening screws securely but not overly tight.
Final Checks and Reassembly
Reattach all removed parts and ensure everything is aligned properly. Fill the gear housing with the recommended lubricant if needed, following the manufacturer’s specifications. Plug in the mixer and run it at low speed for a few minutes to check for leaks. Observe the area closely for any signs of oil seeping out.
The Products in This Guide

KitchenAid Artisan Series 5 Quart Tilt Head Stand Mixer
- ✔ Weight: 26 lbs
- ✔ Voltage: 120V
- ✔ Warranty: 1 year

KitchenAid Stand Mixer Attachment
- ✔ Ease of Use: High
- ✔ Cleaning: Moderate
- ✔ Storage: Included case
KitchenAid Artisan Series 5 Quart Tilt Head Stand Mixer
The KitchenAid Artisan Series 5 Quart Tilt Head Stand Mixer is renowned for its robust metal construction and versatile functionality. Built to handle all your mixing needs, it features 59 touchpoints for thorough blending and a tilt-head design for easy access. Its powerful motor and 10-speed settings make it suitable for everything from gentle stirring to whipping cream.
Pros:
- Durable metal construction
- Powerful motor with 10 speeds
- Large 5-quart stainless steel bowl
- Easy tilt-head access
Cons:
- Can be heavy to move
- Price point might be high for some
- Requires regular maintenance
Best for: Baking enthusiasts and home cooks needing a reliable, versatile mixer
Not ideal for: Light or infrequent users who prefer smaller, less powerful models
Bottom line: A durable, stylish mixer perfect for serious home bakers.
KitchenAid Stand Mixer Attachment
The KitchenAid Stand Mixer Food Grinder Attachment transforms your mixer into a powerful food processor. It’s perfect for grinding meats, vegetables, and even making sausage. The included plates and stuffer tubes make it a comprehensive addition for home cooks who want fresh, high-quality ingredients.
Pros:
- Easy to attach and use
- Multiple grinding plates
- Sturdy metal construction
- Versatile for various foods
Cons:
- Requires separate purchase
- Cleaning can be time-consuming
- Needs pre-chilling ingredients
Best for: Home chefs seeking to grind and prepare fresh ingredients
Not ideal for: Users looking for a simple, standalone grinder
Bottom line: A durable, versatile attachment for fresh grinding needs.
Frequently Asked Questions
Why is my KitchenAid mixer leaking oil?
Oil leaks typically occur due to worn or damaged seals inside the gear housing or drive mechanism. Over time, these seals can degrade, allowing oil to escape. It’s important to identify the source to determine if a seal replacement or further repair is needed.
Is it safe to use my mixer if it’s leaking oil?
If your mixer is leaking oil, it’s best to stop using it until the issue is fixed. Continuing to operate it can cause further damage or safety hazards. Repairing the leaks promptly ensures safe and reliable operation.
Can I fix the oil leak myself?
Yes, with the right tools and replacement seals, many users can perform the repair at home. However, if you’re not comfortable with disassembling small parts or handling lubricants, consider professional repair services.
How often should I inspect my mixer for leaks?
It’s good practice to inspect your mixer periodically, especially if you notice unusual noises, decreased performance, or any oil residue. Regular maintenance helps prevent major issues.
What type of lubricant should I use for the seals?
Use a food-grade, silicone-based lubricant recommended for KitchenAid mixers. Avoid petroleum-based lubricants, as they can damage seals or be unsafe for food contact.
Keeping Your KitchenAid Mixer Running Smoothly
Regular maintenance and prompt attention to issues like oil leaks will extend the life of your KitchenAid Artisan mixer and ensure it continues to perform at its best. By following the step-by-step repair process outlined here, you can safely fix minor leaks and keep your mixer in excellent condition for years to come. Remember, if in doubt, consult a professional to avoid further damage.
Affiliate disclosure: As an Amazon Associate we earn from qualifying purchases. Prices and availability are accurate as of the time of publishing.
Cold & flu season Picks
humidifiers
As an affiliate, we earn on qualifying purchases.