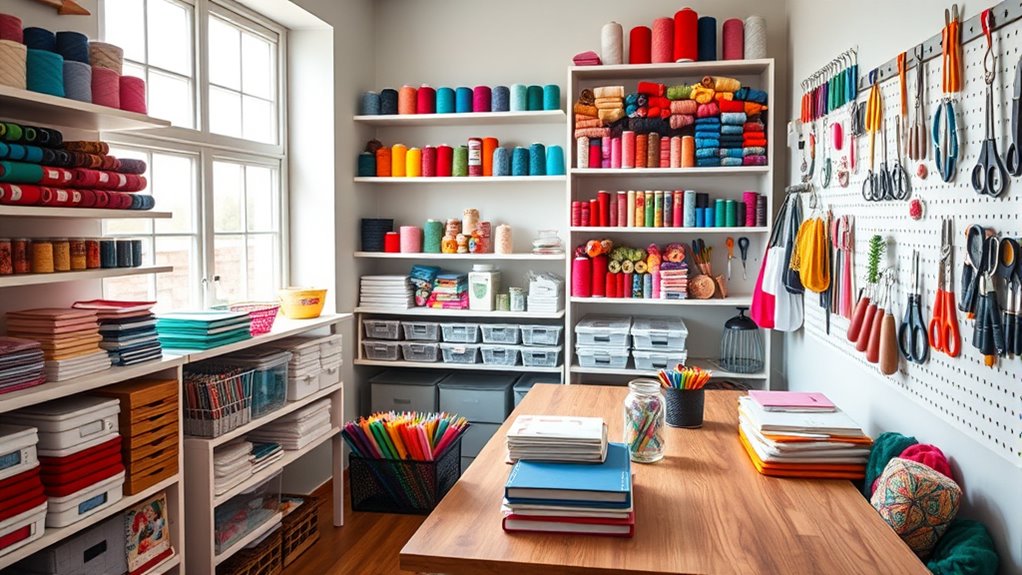
To organize your craft room like a pro, start by decluttering and categorizing supplies into trash, donate, and keep piles. Design an ideal layout, prioritizing accessibility for frequently used items. Maximize vertical storage with shelves and pegboards, and use over-the-door organizers for extra supplies. Implement a clear labeling system to find essentials quickly. Streamlining your workflow help, and set a regular maintenance routine to keep order. Keep exploring for more tips to enhance your crafting space!
Key Takeaways
- Clear out clutter by categorizing supplies into trash, keep, donate, and sell, limiting decluttering sessions to three hours.
- Design a versatile layout with specific zones for activities, placing frequently used items nearby for easy access.
- Maximize vertical storage with shelves, pegboards, and stackable containers to save space and improve accessibility.
- Streamline your workflow by breaking down projects into steps and maintaining organized project trays for efficiency.
- Implement a labeling system for quick identification, regularly updating labels as supplies change to maintain organization.
Emptying the Craft Room
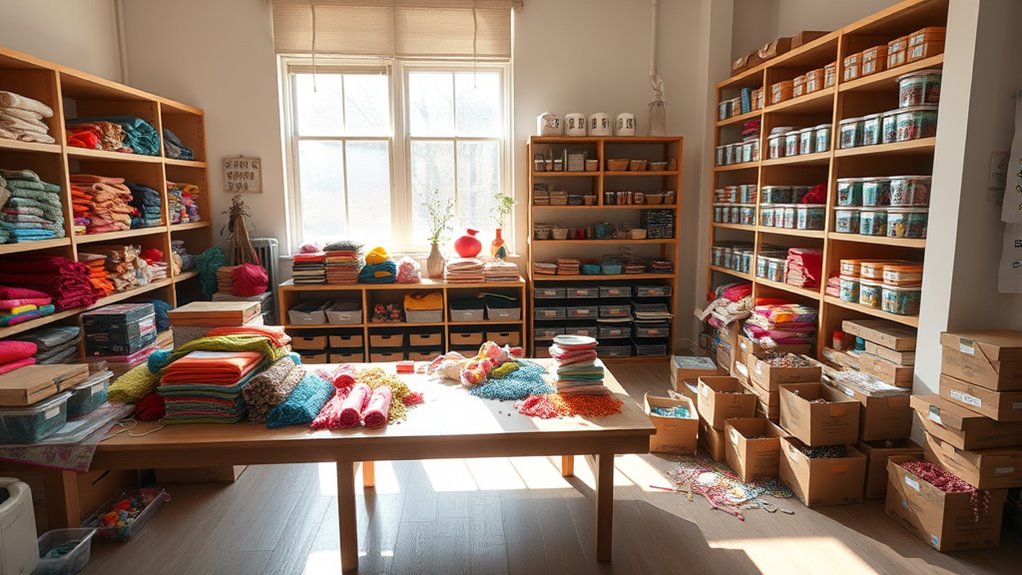
Before you dive into organizing your craft room, it's essential to empty it completely. Start by clearing out the clutter—remove trash and anything that doesn't belong in the space.
Gather your supplies: grab trash bags and boxes for sorting, and mentally prepare yourself for the process. Set boundaries by limiting your decluttering sessions to three hours; this helps prevent burnout. As you work, visualize your ideal organized craft room to guide your efforts. Create a plan that outlines what needs to be done, ensuring you stay focused.
Sort unwanted items into categories: trash, keep, donate, and sell. This initial step lays the foundation for a clean and functional craft room, ready for the exciting organizational tasks ahead. By utilizing low-stakes tasks such as removing obvious waste first, you can ease into the decluttering process effectively.
Categorizing Your Supplies
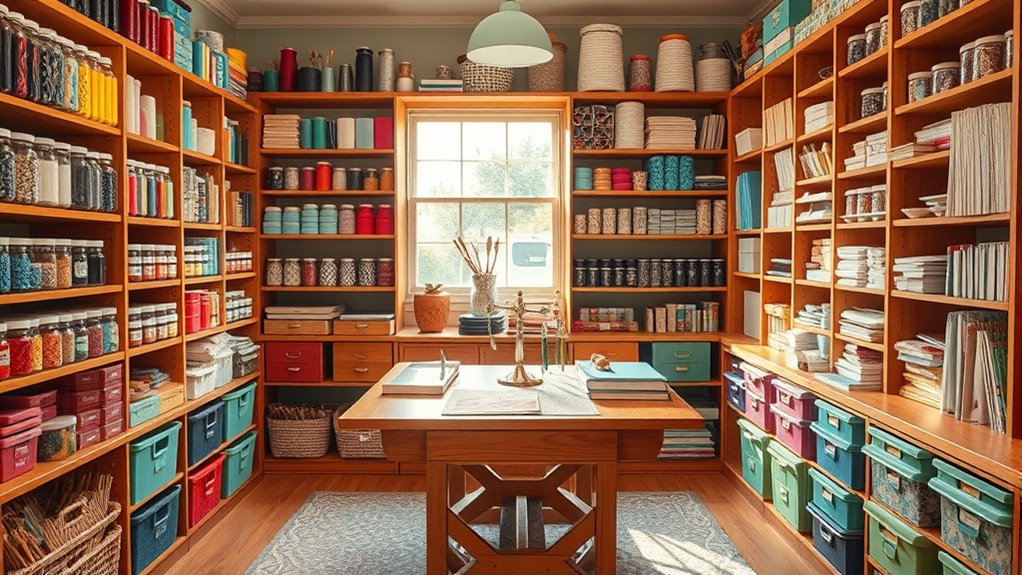
Categorizing your craft supplies is a crucial step in creating an efficient and functional workspace. Start by grouping items by type: organize paper and cardstock by color and size, and sort adhesives like glues and tapes by category. For tools, categorize them based on their function, such as cutting or shaping. Paints and inks should be sorted by color and type, while fabrics can be organized by material and pattern. Consider using thematic or project-based systems for specific supplies, which can streamline your creative process. Use shelving, baskets, or drawer organizers to keep everything tidy. Additionally, taking inventory of your supplies can help you identify what you have and what you may need. Regularly maintain your system by labeling and rotating supplies, ensuring your workspace stays organized and accessible. This way, you'll always have what you need at your fingertips!
Planning the Ideal Layout
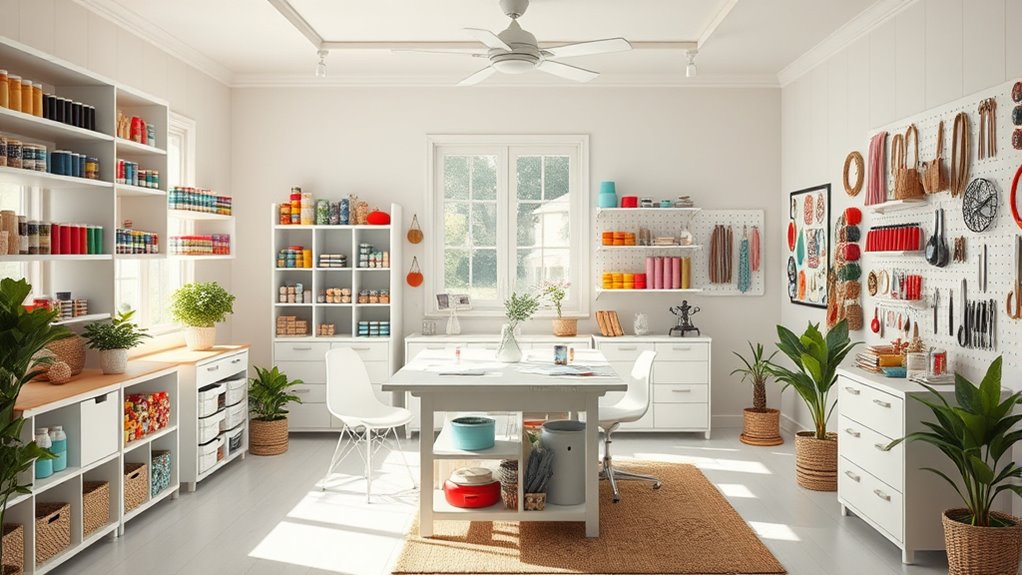
Creating an organized craft room goes beyond just categorizing your supplies; it also involves thoughtfully planning the layout to enhance your creative process.
Start by designing versatile work surfaces that adapt to various projects and incorporate different heights for comfort. Ensure you have ample space to spread out your materials and tools. Position frequently used supplies close to your work areas and utilize drawers or shelves for easy access. Tailored storage solutions are essential for functionality, helping to keep your space clutter-free. Additionally, regular cleaning and servicing of your craft tools can improve their efficiency and longevity.
Measure your room to optimize furniture placement, and consider corner spaces for custom storage. Designate specific zones for activities like sewing or painting, ensuring each area has necessary tools within reach.
Maximizing Vertical Storage
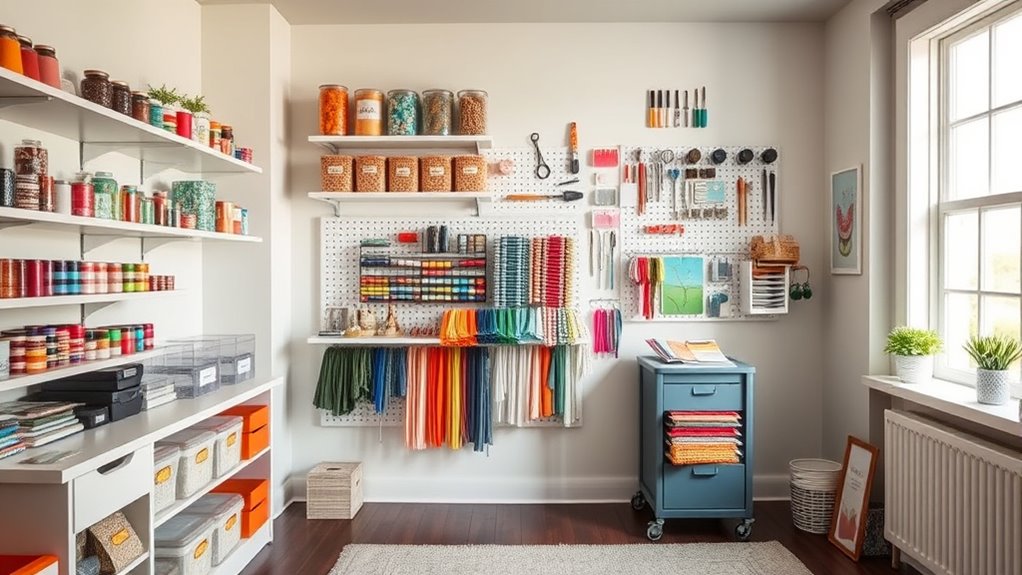
Maximizing vertical storage can transform your craft room into a more organized and efficient workspace.
Start by utilizing wall space with shelves, hooks, and pegboards to keep supplies accessible. Consider stackable drawers or crates to save floor space while keeping your materials neatly stored. Clear your clutter to ensure that only essential items are easily reachable, enhancing your overall crafting experience.
Wall boxes are great for items like washi tape and stamps, offering easy access when you need them. Employ shelf risers to optimize your shelves, improving visibility of stored items.
For a versatile solution, tension rods can create custom vertical storage without any tools.
Utilizing Over-the-Door Organizers
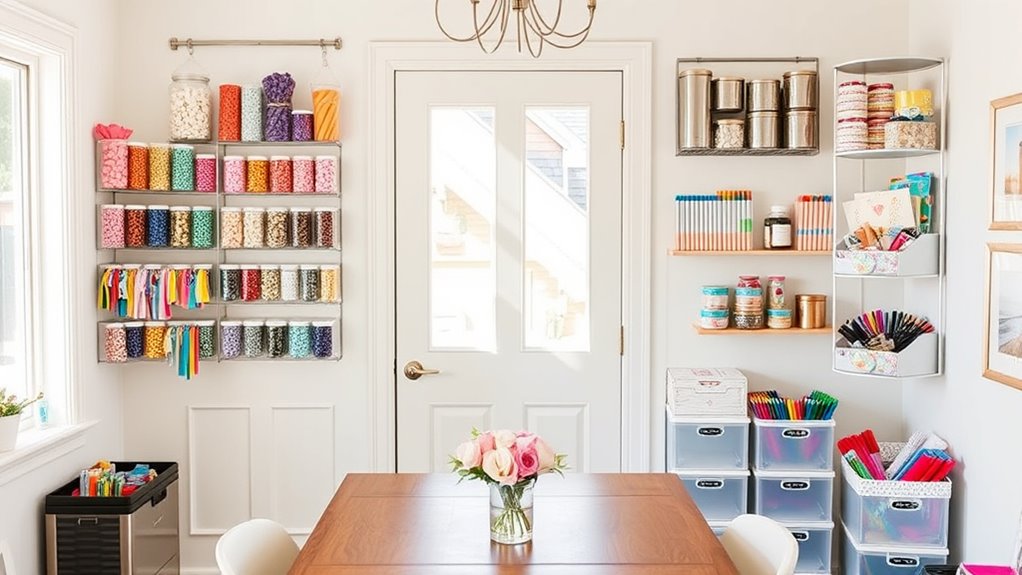
Over-the-door organizers are a game-changer for your craft room, providing a simple way to keep supplies tidy and accessible. Their versatility allows you to store everything from sewing tools to paints, making them perfect for small spaces. With easy installation and no need for hardware, you can quickly set them up and move them as needed. Many come with adjustable hooks and shelves, letting you customize them to fit your supplies. The transparent pockets enhance visibility, ensuring you can find what you need without digging through bins. Additionally, these organizers often feature 24 large, transparent pockets for easy visibility of supplies.
Establishing Dedicated Work Zones
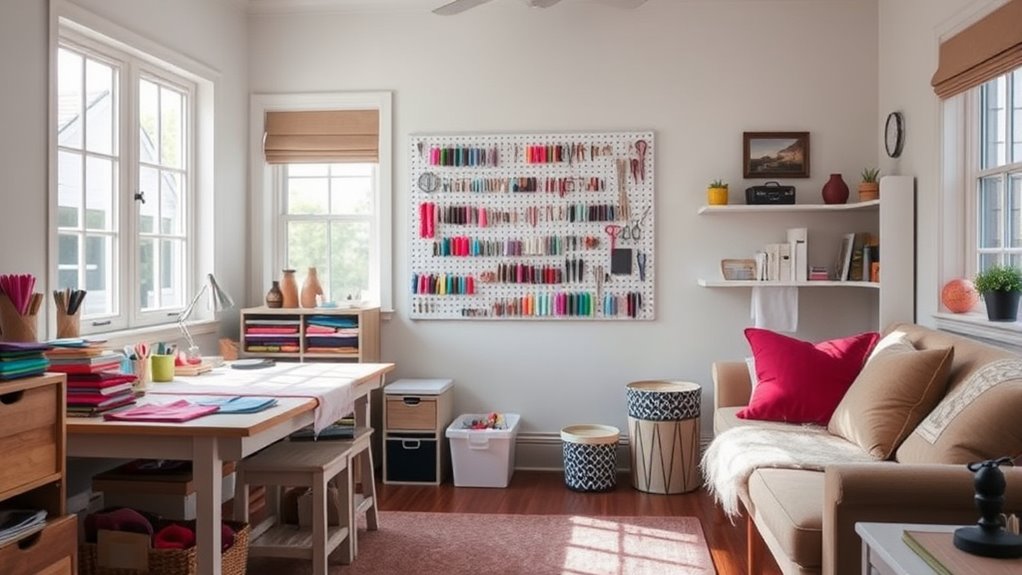
Once your supplies are neatly organized with over-the-door solutions, it's time to focus on establishing dedicated work zones in your craft room.
Start by categorizing your materials into groups like paper, adhesives, and tools. This inventory helps you plan effective storage. Incorporating rustic elements from farmhouse kitchen aesthetics can create a warm and inviting atmosphere that enhances your creativity.
Designate specific areas for each craft activity, maintaining clear workspaces to prevent clutter. Incorporate inspiration boards to spark creativity within each zone. Designated zones can significantly enhance your crafting experience by streamlining your workflow.
Remember to use customized storage solutions, like specialized shelving or rolling carts, to meet your unique needs.
Regularly clean and maintain your workspaces to keep them functional and organized.
Flexibility in your zone layouts allows for changes as your crafting evolves, making your craft room a dynamic and inspiring environment.
Implementing a Labeling System
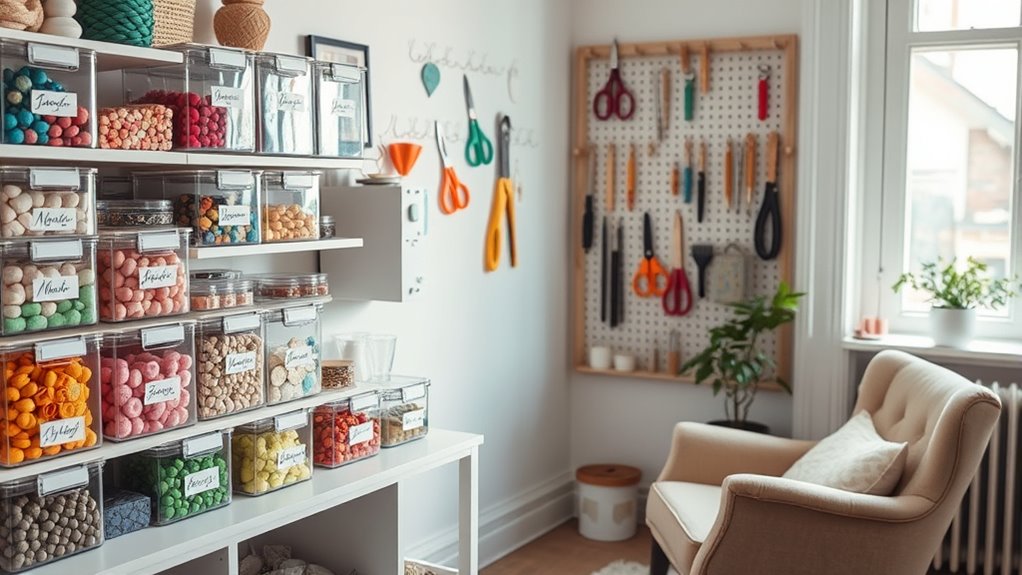
To keep your craft room organized and efficient, implementing a labeling system is essential. Start by choosing your labeling tools; cutting machines like Cricut or label makers such as Dymo Labelmanager 160 offer precision and ease. You can opt for pre-made, DIY, or printable labels depending on your style. Ensure labels are placed where they're easily visible, consistent across similar containers, and accessible from your workspace. Consider using a cutting machine to create custom labels that reflect your personal style and make your organization efforts even more effective. Categorize supplies, perhaps by type or color-code them for quick identification. Regularly review and update your labels as your supplies change, and involve others who use the space. A well-maintained labeling system not only boosts efficiency but also enhances the overall aesthetic of your craft room.
Budget-Friendly Storage Solutions

Finding budget-friendly storage solutions for your craft room can make a significant difference in maintaining organization without breaking the bank.
Start by repurposing boxes, like those from Amazon, and decorate them for a personal touch. Thrift stores are goldmines for old drawers and containers that can easily be transformed into storage. Additionally, consider using freshly squeezed juices to keep your creativity flowing, just as you would keep your craft supplies organized.
Don't forget dollar stores for affordable items like pegboards and shoe organizers. For a DIY twist, create custom bins using cardboard and contact paper. Additionally, consider utilizing thrifted storage items to enhance both functionality and style in your space.
Utilize vertical space with pegboards and floating shelves to keep essentials within reach.
Lastly, ask friends or family to save jars and tins for free, functional storage that adds character to your craft room.
Streamlining Your Workflow
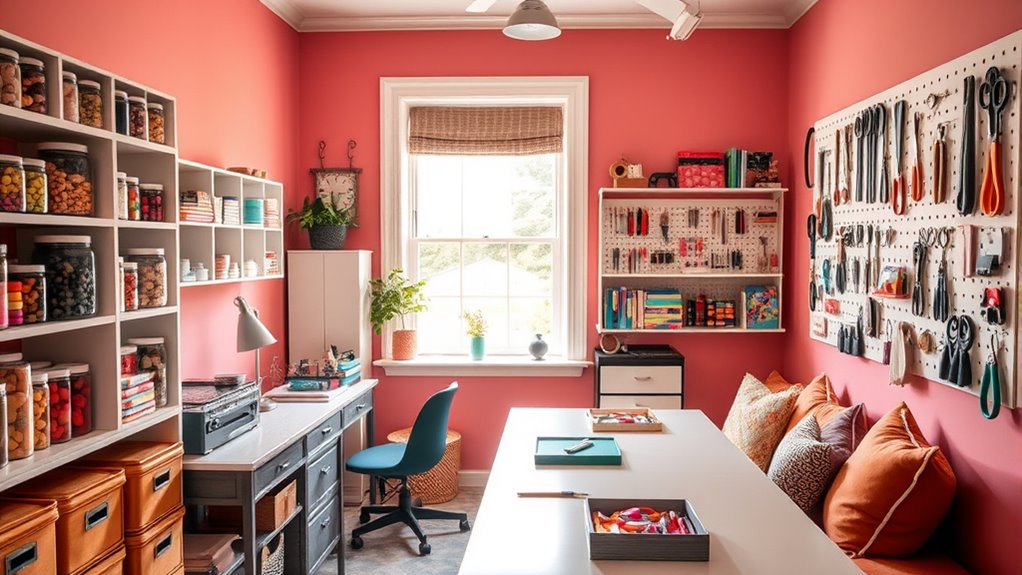
Streamlining your workflow in the craft room not only boosts productivity but also makes the creative process more enjoyable.
Start by taking inventory of your supplies to know what you have and where it is. Next, break down each craft into steps and create zones in your workspace for each stage of the process. Understanding Your Process can help you recognize the core steps involved in crafting and identify any overlapping tools you might use. Integrating continuous improvement practices can also enhance your crafting efficiency.
Analyze these steps to eliminate unnecessary actions, improving efficiency. Implement storage solutions like cabinets, tool trays, and wall storage for easy access. Label everything for quick identification. Tailor your workflow to fit your unique crafting style, ensuring it adapts to your needs.
Maintaining Your Organized Space
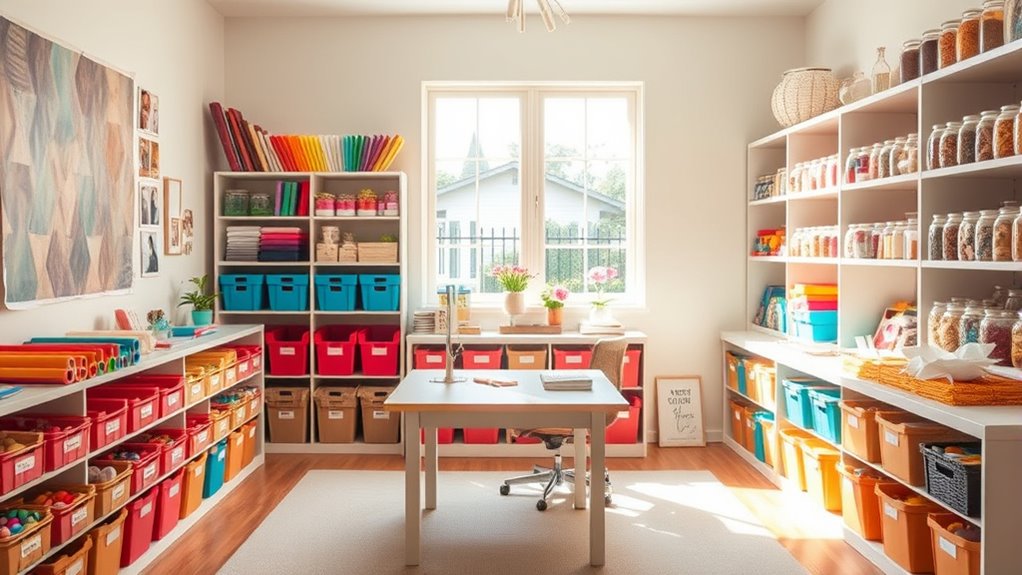
An organized craft room makes it easier to enjoy your creative pursuits, but keeping that order requires ongoing effort. Set aside specific times for cleaning, and implement a 'one in, one out' policy to prevent clutter. Regular cleaning prevents clutter buildup and simplifies future organization efforts. To maintain your space effectively, consider adopting a Leave No Trace mindset to minimize the impact of your crafting activities.
Create a maintenance schedule for regular clean-ups, and use vertical storage to maximize space while keeping supplies visible. Ensure frequently used items are easily accessible. Store supplies in clear containers, label them, and use rotating organizers for convenience.
Regularly sort through unfinished projects, set deadlines for completion, and use project trays to keep everything contained.
Finally, establish work zones and plan your layout strategically to maintain functionality and leave room for creativity.
Frequently Asked Questions
How Do I Decide What Supplies to Keep or Discard?
To decide what supplies to keep or discard, start by evaluating how often you use each item.
Check their condition—if something's damaged, toss it.
Consider your available space and only keep what fits.
Reflect on your current or future projects to determine relevance.
Lastly, think about your emotional attachment; if an item doesn't hold value, it might be time to let it go.
This process will help streamline your collection effectively.
What Are the Best Materials for DIY Storage Solutions?
Did you know that 70% of people feel more creative in organized spaces?
When it comes to DIY storage solutions, you can use versatile materials like stackable drawers, cigar boxes, and old jewelry boxes.
Consider repurposed wooden drawers for a rustic touch or canning jars for small items.
Rolling carts offer mobility, while buckets and baskets keep larger supplies accessible.
These options not only save space but also enhance your creative flow!
How Can I Organize Craft Supplies for Kids?
To organize craft supplies for kids, start by gathering everything from around the house.
Sort items into categories like paints, markers, and stickers, and declutter any unused supplies.
Use clear, labeled containers for easy visibility and access, ensuring they're low enough for kids to reach.
Encourage your children to return items after use, and regularly check the organization to adapt as their crafting needs change.
Engaging them in this process teaches responsibility.
What Are Some Ideas for Small Craft Rooms?
For small craft rooms, consider clever container combinations and compact creativity.
Stackable storage simplifies space, while shelves showcase supplies. Pegboards provide practical placement for tools, and rolling carts allow for mobile organization.
Floating shelves deliver decorative depth, and over-the-door organizers optimize every inch.
Repurpose recycled items for resourceful solutions, using clear containers for quick visibility.
With these strategies, you'll transform your tiny crafting space into a tidy treasure trove of inspiration!
How Often Should I Reorganize My Craft Room?
You should reorganize your craft room regularly to keep it functional and inspiring.
Aim for daily maintenance to tidy up after sessions. Set aside time each week for a quick review and adjustments.
Monthly deep cleans help maintain order, while seasonal overhauls can refresh your space.
Don't forget to reorganize after completing large projects to ensure everything goes back to its designated spot.
This routine keeps your creativity flowing smoothly.
Conclusion
Organizing your craft room isn't just about tidiness; it's about enhancing your creativity. Studies show that a clutter-free environment boosts focus and inspiration. By following these steps, you're not only creating a functional space but also fostering a mindset that encourages creativity. So, as you put everything in its place, remember that a well-organized craft room can lead to more productive and enjoyable crafting sessions. Dive in and watch your creativity flourish!
