
To master your label maker for professional organization, start by creating customizable templates that suit various needs and guarantee consistency. Use color coding to categorize and visually prioritize items, making your system clearer and faster to navigate. Choose durable tapes for long-lasting labels, especially in exposed areas. Regularly update your labels and refine your templates for maximum efficiency. Keep honing your skills, and you’ll discover how these strategies can elevate your organizational game even further.
Key Takeaways
- Use customizable printable templates to ensure consistent, professional-looking labels across all organizational categories.
- Incorporate color coding into labels to visually differentiate and prioritize items effectively.
- Familiarize yourself with security features and font options to enhance label durability and clarity.
- Design templates that support various categories and color schemes for streamlined, scalable organization.
- Regularly update and refine your labeling system to maintain efficiency, clarity, and a polished appearance.
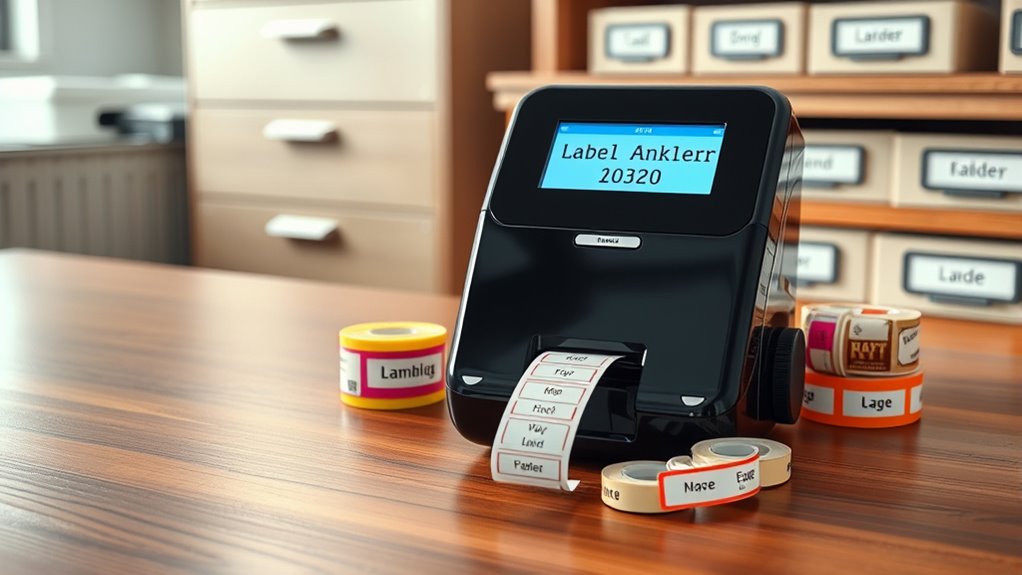
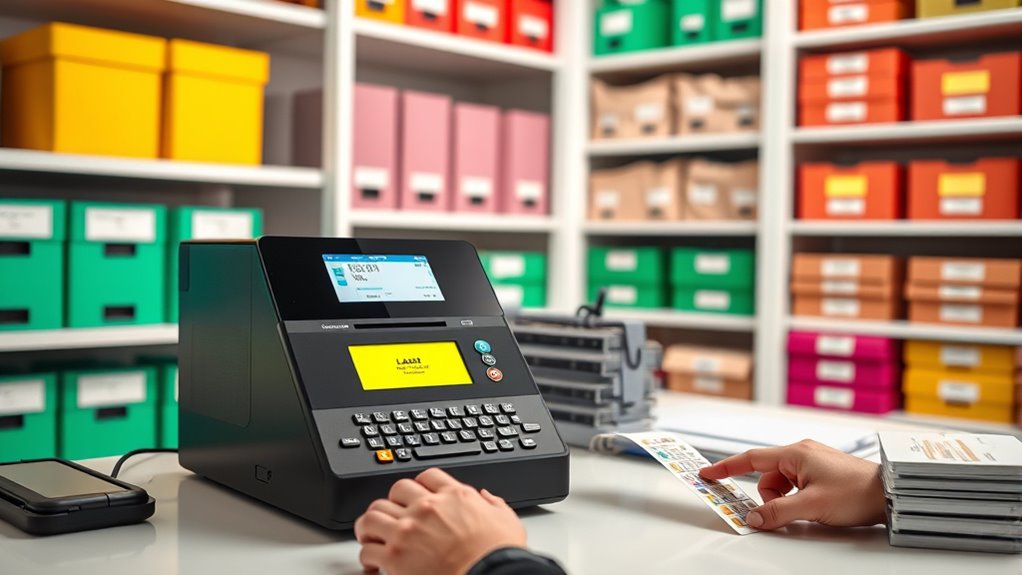
A label maker might seem simple at first, but mastering its features can substantially improve your organization and efficiency. One of the most effective ways to do this is by utilizing printable templates. These templates save you time and ensure consistency, especially when you need to create multiple labels for similar items. Many label maker brands offer downloadable templates that you can customize with your text, icons, or colors before printing. This approach streamlines your labeling process, making it faster and more professional-looking. Whether you’re labeling files, pantry items, or office supplies, printable templates provide a clean, uniform appearance that enhances your overall organization.
Using printable templates streamlines labeling, saves time, and ensures a professional, consistent look across your organization.
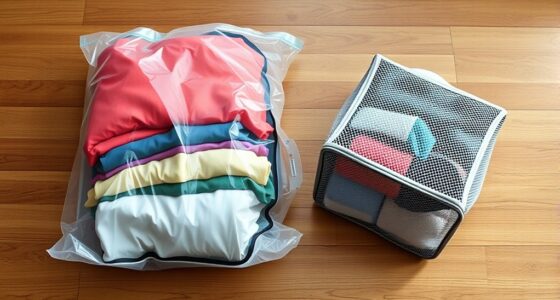
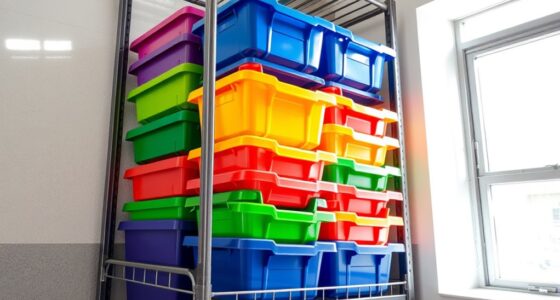
Another key aspect of mastering your label maker is understanding color coding. Color coding allows you to categorize and prioritize items visually, which can drastically reduce the time it takes to locate what you need. For instance, you might assign red labels for urgent documents, green for completed projects, and blue for ongoing tasks. By integrating color coding into your labels, you create a visual system that simplifies navigation through your space. Many label makers support colored tapes or ink options, giving you the flexibility to implement this system seamlessly. When combined with printable templates, color coding becomes even more powerful, allowing you to customize labels with different background or text colors that match your organizational scheme.
Additionally, understanding security features of your label maker can help prevent tampering or accidental removal, especially in sensitive environments. To get started, familiarize yourself with your label maker’s features. Experiment with different font styles, sizes, and layouts to find what works best for your needs. Using printable templates, you can pre-design labels for various categories and print them as needed, maintaining consistency throughout your space. Don’t forget to consider the durability of your labels—especially if they’ll be exposed to moisture or handling—by selecting appropriate tape types. Once you’ve set up your templates and color coding system, make it a habit to stick to your plan. Regularly updating your labels and templates ensures your organization stays current and effective.
Mastering a label maker isn’t just about printing labels; it’s about creating a thorough system that keeps your environment tidy and accessible. Incorporate printable templates to streamline your workflow, and leverage color coding to add a layer of visual clarity. With practice and a little planning, you’ll turn your label maker into a powerful tool that elevates your organizational game to a professional level.

Ponek Label Maker with 3 Tapes, M100 Address Barcode Label Printer, Versatile App with 4000 Icons and 300 Templates, Bluetooth Thermal Label Printer for Small Business, Office, Home, School, Black
【You Will Get】Ponek M100 label maker with 3 rolls labels , 1.57'' x 1.18'' /1.96"X1.18" /1.96'' x 3.14''…
As an affiliate, we earn on qualifying purchases.
As an affiliate, we earn on qualifying purchases.
Frequently Asked Questions
What Are the Best Label Maker Brands for Professionals?
When selecting the best label maker brands for professionals, consider options like Dymo, Brother, and Epson. These brands offer features such as custom label designs and wireless connectivity, making your organization tasks more efficient. You’ll appreciate their user-friendly interfaces and versatile printing options. With these top brands, you can easily create professional-quality labels that streamline your workflow and keep your space tidy and well-organized.
How Do I Replace the Label Tape Correctly?
Did you know that 85% of label maker users find proper tape replacement challenging? To replace the label tape correctly, first open the compartment and remove the old tape, then check for proper tape alignment. When inserting the new tape, guarantee it’s snug and aligned with the guides to prevent jams. Close the compartment firmly, and test your label maker to verify smooth operation and accurate labels.
Can Label Makers Print in Multiple Languages?
Yes, many label makers support multilingual printing, allowing you to create labels in multiple languages easily. You can customize fonts, sizes, and styles to suit your needs, making your labels clear and professional. Check your device’s settings or user manual to see if it offers language options. With font customization and multilingual printing, you can organize your space effectively, regardless of the languages you need to include.
What Maintenance Does a Label Maker Require?
Did you know that regular label maintenance can double your label maker’s lifespan? To keep it running smoothly, you should regularly clean the print head and make sure your tape replacement is done promptly. Check for any jammed tape or debris, and replace the tape when it runs low. Proper maintenance prevents malfunctions, saves time, and keeps your labels crisp and professional-looking every time you use your label maker.
How Do I Troubleshoot Common Printing Issues?
If your label maker has printing issues, start by checking the print head alignment to guarantee it’s straight and clean. For label adhesive issues, verify you’re using compatible label tapes and that they’re properly loaded. Clear any jams or debris, and test with a new tape if needed. Regularly clean the print head with a soft cloth to prevent ink smudges, and consult your manual for troubleshooting specific problems.

4000 PCS 3/4" Colored Dot Stickers Circle Color Coding Labels, 8 Color Style Colorful Coding Label Sticker for Office, Student Classroom(8 Rolls, 3/4 Inches)
8 colors-Bright Colored Labels Stickers: 4000 PCS 3/4 Inch diameter color coding dots round stickers, 500 pieces per…
As an affiliate, we earn on qualifying purchases.
As an affiliate, we earn on qualifying purchases.
Conclusion
Now that you’ve learned how to master the label maker, you can organize with confidence, streamline with consistency, and personalize with precision. By applying these skills, you’ll create a space that’s tidy, efficient, and visually appealing. Keep practicing, stay patient, and stay committed. With each label you create, you’ll reinforce your expertise and elevate your organization game. Remember, mastery comes through action, and perfection comes through persistence.

COLORWING TZe-231 Compatible with Brother P-Touch Label Tape TZ Tape 12mm 0.47 Laminated White TZe231 Label Maker Tape 1/2 inch for Brother Ptouch PT-D210 D220 H110 D400 D610 1280 Cube Refills, 5-Pack
Package Include: 5-Pack Colorwing AZe-231 label maker refills replacemet for brother p-touch label tape laminated white TZe-231 TZe231…
As an affiliate, we earn on qualifying purchases.
As an affiliate, we earn on qualifying purchases.

DYMO Label Maker Machine with 3 Tapes – 100H LetraTag Handheld, Includes 3 LT Label Tapes, Perfect for Home & Office Organization
COMPACT & LIGHTWEIGHT: As a handheld label maker, this device stands out with its lightweight and compact nature,…
As an affiliate, we earn on qualifying purchases.
As an affiliate, we earn on qualifying purchases.