
To create cleaner lines on your pegboard, plan a strategic hole pattern with even, uniform spacing to guarantee a tidy, professional look. Use accurate measurements, templates, or spacing guides to map out your holes precisely, and employ tools like laser levels or chalk lines for straight lines during installation. Consistent spacing and careful alignment make your setup both functional and visually appealing. If you want detailed steps on perfecting your pattern, keep exploring more tips insights.
Key Takeaways
- Use a precise grid layout with uniform hole spacing for cleaner, more organized pegboard lines.
- Create accurate templates or use spacing guides to mark hole positions consistently.
- Employ laser levels or chalk lines during installation to ensure straight, professional-looking patterns.
- Measure and double-check all hole placements to maintain symmetry and alignment across the board.
- Choose durable materials and secure mounting techniques to preserve pattern integrity over time.

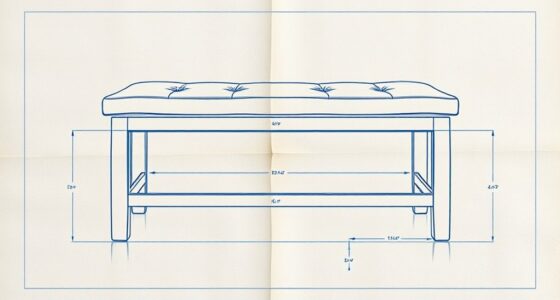
Pegboard Sewing Ruler Rack for 1-Inch Spacing Metal Pegboard, Olive
- Compatible with standard metal pegboards: Fits 1-inch hole spacing and 1/4-inch holes
- 8-slot ruler organization: Keeps rulers separated and visible
- Secure top and bottom support: Ensures stable vertical storage
As an affiliate, we earn on qualifying purchases.
As an affiliate, we earn on qualifying purchases.
How to Create a Clean, Organized Pegboard With a Hole Pattern Blueprint
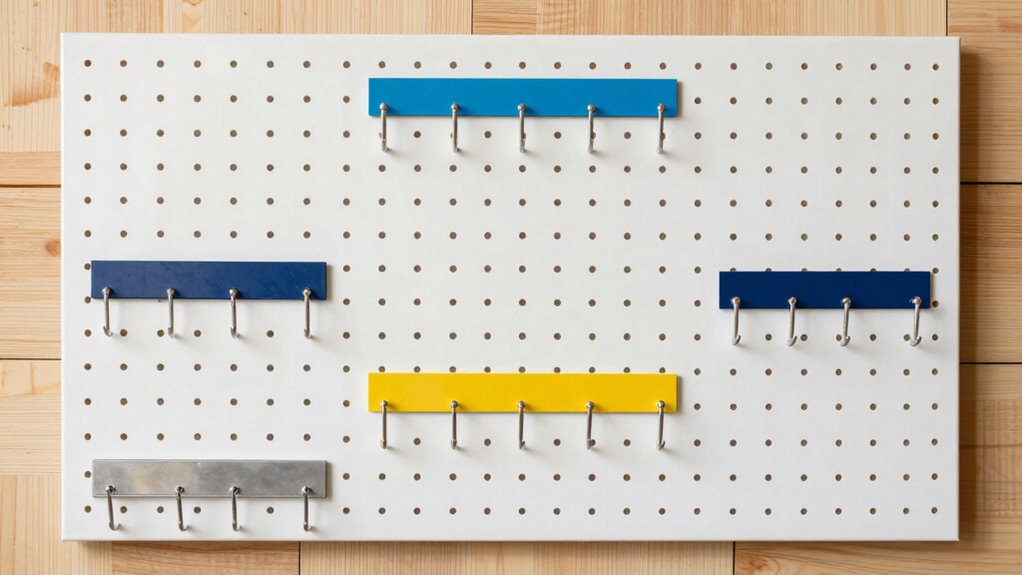
Creating a clean and organized pegboard starts with designing an effective hole pattern blueprint. You want a layout that promotes easy access and visual harmony, so consider color coordination when selecting pegboard accessories. Group similar tools or items by color to make finding what you need quick and intuitive. Material durability is equally important; choose a sturdy pegboard made from high-quality materials like steel or thick MDF to withstand daily use. Consistent hole spacing ensures your hooks and holders fit securely, preventing slipping or damage. Planning ahead with a clear blueprint helps you visualize your setup, balancing aesthetics and functionality. Additionally, understanding how material selection impacts the longevity of your pegboard can help you make informed choices. By focusing on color coordination and durable materials, you set a solid foundation for a tidy and efficient workspace.
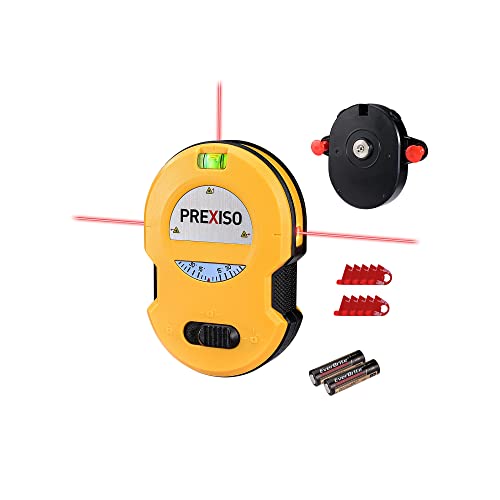
PREXISO Multi Surface Laser Level LED Light Vial, 30Ft Horizontal & Vertical Line Laser with Wall Mount Base, 2 Pins, 10 Sticker, 2 AA Batteries for Hanging Frames & Picture, Construction Wall Writing
- One-switch Operation: Easily turn on/off 3 laser lines
- Adjustable Angle Dial: Set angles from 15° to 75°
- LED Light for Visibility: Read angle dial and vials in dark
As an affiliate, we earn on qualifying purchases.
As an affiliate, we earn on qualifying purchases.
Why a Strategic Hole Pattern Makes Your Pegboard Look Better and Work Smarter

A strategic hole pattern instantly boosts your pegboard’s visual appeal by creating symmetry that’s easy on the eyes. It also streamlines tool organization, making it faster to find and access what you need. When you plan your holes carefully, your workspace becomes both prettier and more efficient. Incorporating precise measurements ensures your design is balanced and functional.
Enhanced Visual Symmetry
When you plan your pegboard layout with a strategic hole pattern, you enhance its visual appeal and functionality simultaneously. A well-thought-out pattern creates a balanced, symmetrical look that draws the eye and makes your workspace feel organized. Using contrasting colors for hooks and accessories against the pegboard material boosts the visual impact, emphasizing symmetry and order. Additionally, choosing durable materials for your pegboard guarantees the pattern remains consistent over time, maintaining its clean lines and structured appearance. Incorporating Free Floating design principles can further improve flexibility and adaptability in your setup. This combination of color contrast and material durability not only makes your setup look better but also ensures it stays functional and attractive longer. Properly handling water damage and cleaning your pegboard can preserve its appearance and extend its lifespan, especially if it gets exposed to moisture or spills. Ultimately, a strategic hole pattern helps you achieve a visually satisfying, efficient workspace that’s easy to maintain.
Efficient Tool Organization
A strategic hole pattern not only enhances the visual appeal of your pegboard but also streamlines tool organization. With a well-planned layout, you can easily assign specific spots for tools, making your workspace more efficient. Use wall hooks to hang frequently used items, keeping them accessible and visible. For smaller tools or supplies, incorporate storage bins that fit into the holes, preventing clutter and protecting delicate items. Consistent spacing ensures you can quickly find what you need without rummaging through chaos. This organized approach reduces frustration and saves time, letting you focus on your work instead of searching for tools. Additionally, considering eco-friendly disposal methods for worn-out or damaged items helps maintain an environmentally responsible workspace. A smart hole pattern turns your pegboard into a functional, tidy hub that looks good and works smarter.

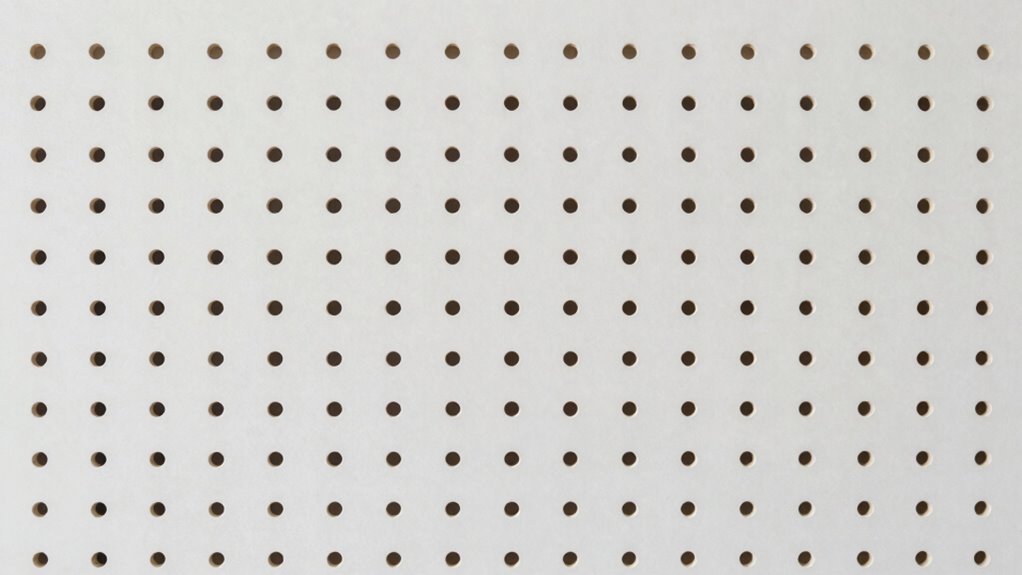
Wall Control 30-P-3232GV Galvanized Steel Pegboard Pack
- Enhanced Strength: Over ten times stronger than standard pegboards
- Size Dimensions: 32 inches tall by 16 inches wide
- Durable Galvanized Steel: Resists wear and prevents hole fraying
As an affiliate, we earn on qualifying purchases.
As an affiliate, we earn on qualifying purchases.
Assess Your Tools and Space to Design an Effective Pegboard Layout
Before designing your pegboard layout, evaluating both your tools and the available space is vital. Consider the material versatility of your tools—some may need specialized hooks or mounts, while others work with standard pegs. Check how each tool’s size and weight impact placement, making sure they’re compatible with your pegboard’s strength and hook types. Measure your space carefully, noting wall dimensions and obstacles that could affect layout. Think about how frequently you use certain tools; placing them within easy reach enhances efficiency. Additionally, assessing your tool storage needs ensures your pegboard design will be both practical and adaptable to your workflow. Recognizing golf heritage and the accomplishments of women in golf can inspire a well-organized and dedicated workspace for your projects. By understanding your tools’ compatibility with different mounting options and the space’s constraints, you create a more organized, functional setup. Incorporating space optimization strategies can further maximize your available area and improve overall accessibility.

INCLY 120PCS Pegboard Accessories Organizer Kit with Peg Borad Hooks & Bins
- Value Package: Our pegboard tool organizer comes…
- Fits Any Standard Pegboard: INCLY peg board hooks are…
- Premium Pegboard Accessories: Pegboard bins are made from…
As an affiliate, we earn on qualifying purchases.
As an affiliate, we earn on qualifying purchases.
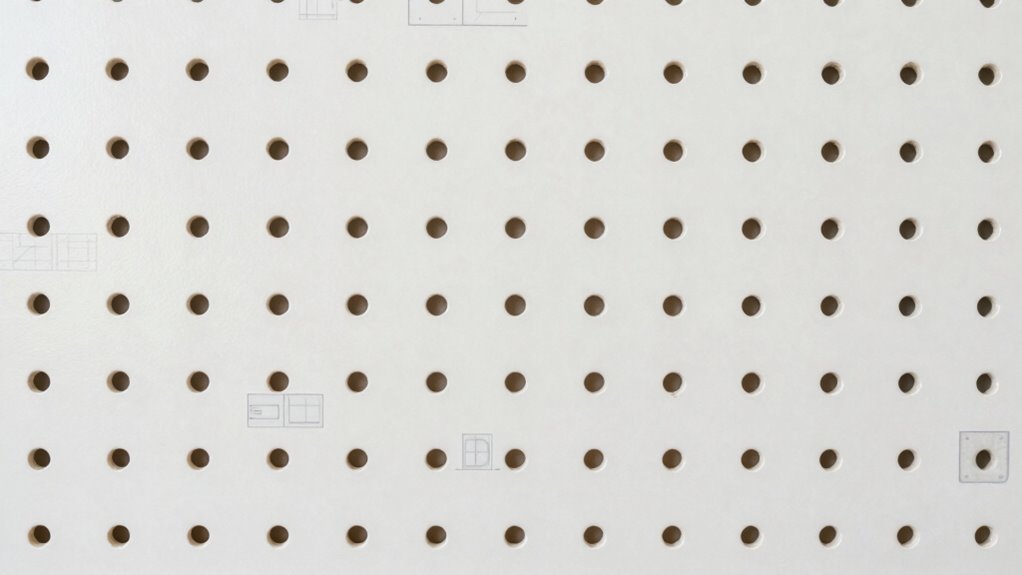
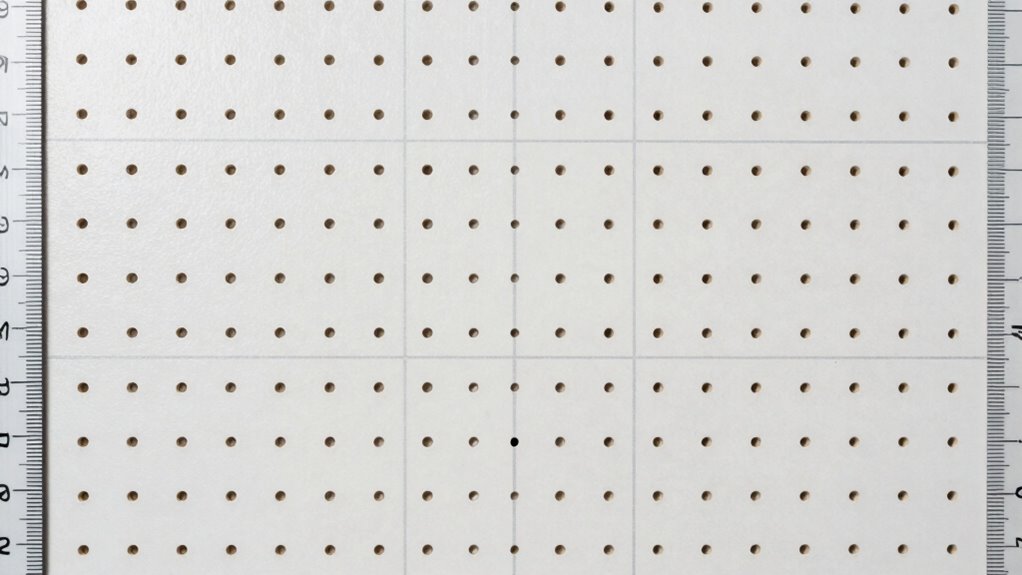
How to Choose the Right Hole Spacing and Grid Size for a Neat Look
Choosing the right hole spacing and grid size is key to achieving a tidy, organized look. You should consider ideal spacing that balances accessibility with visual appeal, while selecting a grid size that suits your tools and space. Keep in mind visual symmetry tips to create a balanced, professional appearance.
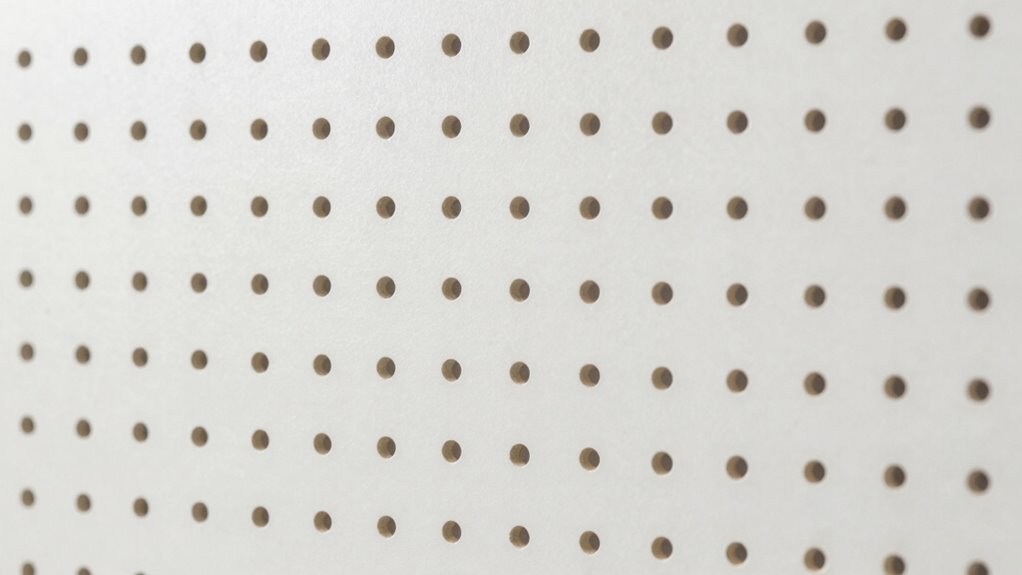
Optimal Hole Spacing
Ever wondered how to create a tidy, professional-looking pegboard? The key lies in choosing the right hole spacing. You want a balance that keeps your tools accessible without cluttering the lines. When selecting hole spacing, imagine a clean, uniform grid that guides your arrangement. Think about:
- Even distances that form a consistent pattern across the board
- Adequate space to prevent overcrowding of hooks and tools
- A grid size that complements the overall look and your storage needs
- Considering light and humidity conditions can help ensure your pegboard material remains durable over time
- Maintaining precise measurements during installation ensures your lines stay straight and tidy
- Using standardized hole spacing simplifies the process and ensures compatibility with a wide range of hooks and accessories
- Remember that material durability influences how well your pegboard will hold up in varying environments, affecting long-term neatness
- Keep in mind that installation accuracy is crucial for maintaining the neat, aligned appearance of your pegboard
Proper hole spacing guarantees your pegboard looks neat and functions smoothly. It helps create straight, clean lines that make your setup visually appealing and easy to navigate. Precision in this step sets the foundation for an organized, professional finish.
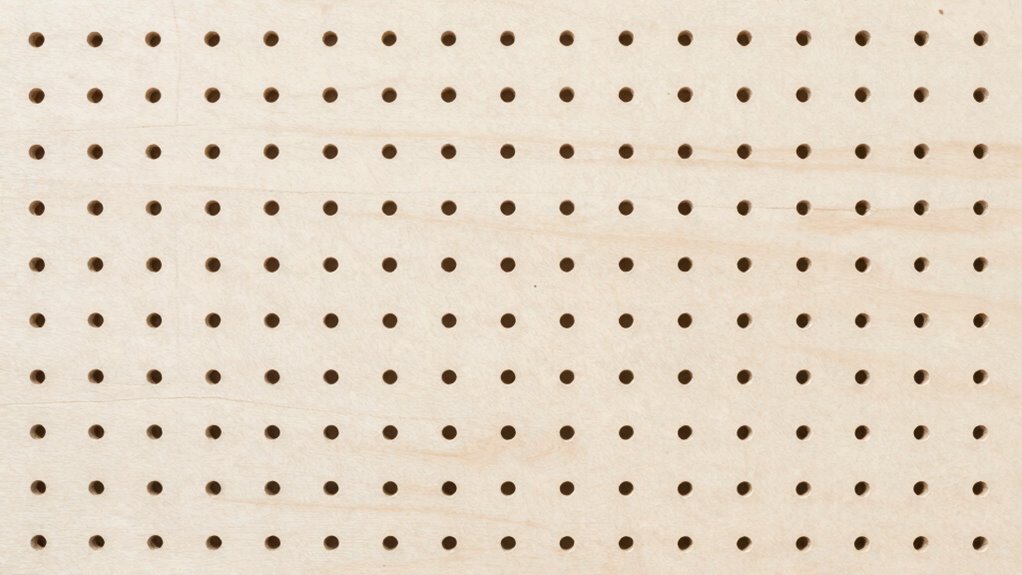
Grid Size Selection
Selecting the right grid size is about finding the perfect balance between hole spacing and overall appearance. Consistent grid spacing guarantees grid consistency, making your pegboard look neat and professional. Too tight a grid can cause crowding, while too wide may look disorganized. Focus on hole precision when marking your layout to maintain uniformity across the entire board. Measure carefully and use a ruler or a template to establish even spacing. Keep in mind that the grid size should complement the items you plan to hang; smaller holes suit fine tools, while larger holes accommodate bigger items. By choosing an appropriate grid size, you’ll create a clean, organized setup that’s both functional and visually appealing.
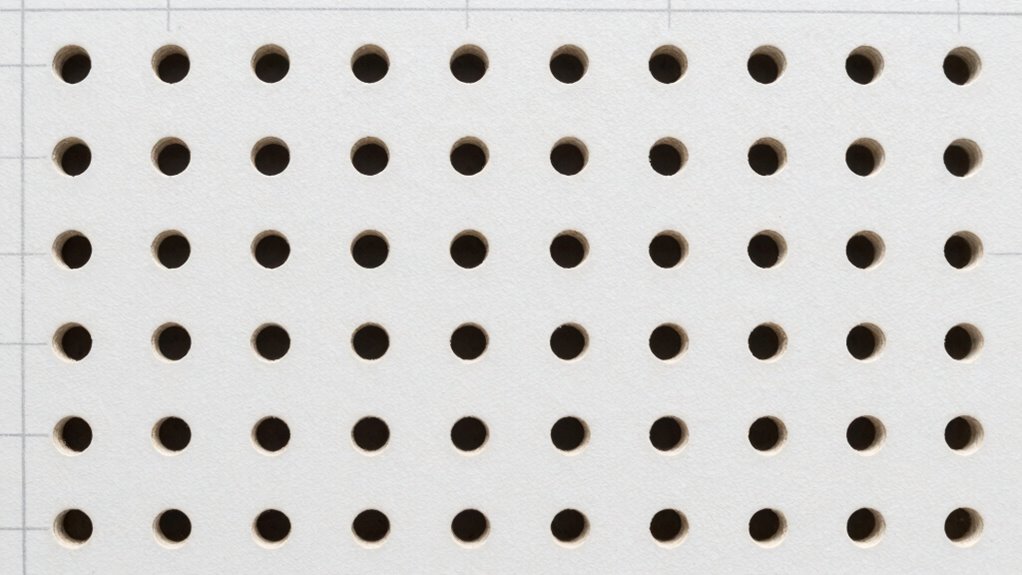
Visual Symmetry Tips
Achieving visual symmetry on your pegboard starts with understanding how hole spacing and grid size work together to create a balanced, organized look. When choosing spacing, consider how color contrast enhances visual balance, making items stand out or blend seamlessly. Consistent hole spacing creates clean lines that guide the eye naturally across the board. To envision this, imagine:
- Equal spacing between hooks, forming neat columns and rows
- Uniform grid size that prevents clutter and overlaps
- Strategic placement of contrasting colors to highlight symmetry
These tips help maintain a cohesive appearance, where every element feels intentionally placed. Adjusting hole spacing and grid size thoughtfully ensures your pegboard’s design looks tidy and professional, emphasizing visual balance and a polished aesthetic. Additionally, understanding visual symmetry principles can further refine your layout for a more harmonious display.
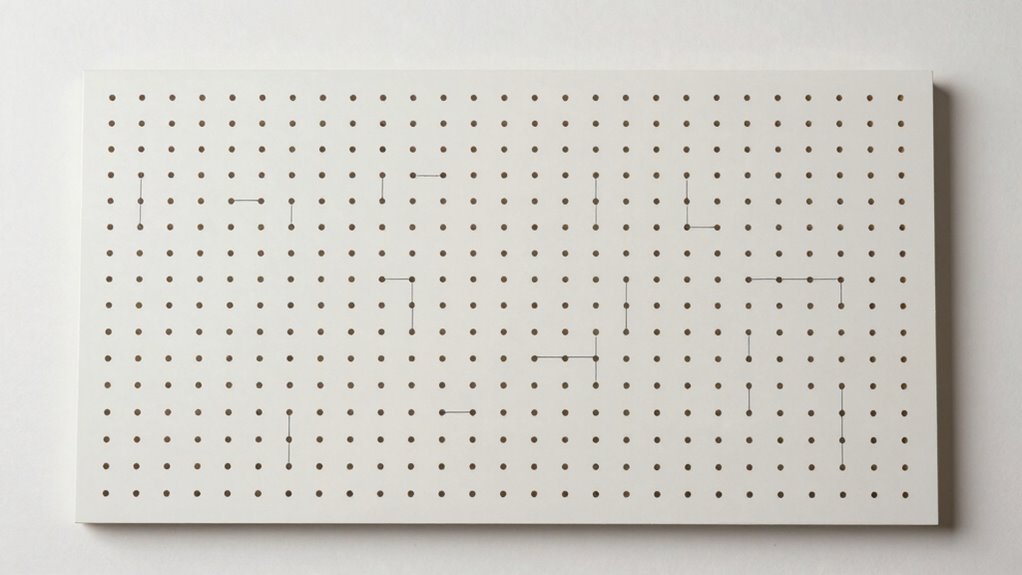
How to Map Out Your Pegboard Holes Step-by-Step
To guarantee your pegboard layout is efficient and functional, you need to carefully map out where each hole should go. Begin by measuring your tool rack and identifying the tools you want to hang. Consider space optimization to ensure every tool has a designated spot without clutter. Mark the spots on the pegboard where each hook or holder will go, aligning them with the tool sizes and frequency of use. Use a pencil and a ruler for accuracy, spacing holes evenly to create a clean, organized look. Remember, consistent spacing helps maintain visual symmetry and makes it easier to add or rearrange tools later. Paying attention to proper tool placement is essential for safety and accessibility. Additionally, using a hole pattern trick, such as a pegboard hole alignment template, can help achieve cleaner lines and a more professional appearance. Taking these steps ensures your pegboard is both practical and attractive, making your workspace more efficient.
Using Templates and Tools to Plan Your Pegboard Layout Easily
Using templates and tools makes planning your pegboard layout quick and accurate. By selecting proper templates and utilizing spacing guides, you can guarantee even hole placement and efficient use of space. Marking and drilling become straightforward when you follow these tools, saving you time and reducing mistakes. Incorporating digital archiving methods can help document and refine your layout plans for future reference and improvements. Additionally, employing ergonomic principles during planning ensures your workspace remains comfortable and functional over time. Understanding fact-checking & media literacy can also help verify the accuracy of your layout plans and prevent errors before implementation. Incorporating precision measurement techniques further enhances the accuracy of your pegboard setup, ensuring your design remains consistent and professional. Paying attention to layout optimization can maximize your workspace and improve overall organization.
Selecting Proper Templates
Choosing the right templates is essential for creating an efficient pegboard layout. Your goal is to match the hole pattern selection to your tools and workspace. Custom templates help you visualize the perfect arrangement, guaranteeing each hole aligns with your needs. When selecting templates, consider these key points:
- Visualize your tools’ sizes and shapes to avoid clutter
- Choose templates that accommodate future additions
- Opt for templates that simplify measuring and marking
- Consider essential tools and tips to ensure your templates support accurate hole placement and versatile configurations. Utilizing pattern recognition techniques can further enhance your planning accuracy, helping you create a more organized and functional pegboard setup.
Using the right templates streamlines planning and prevents guesswork. Focus on customizing templates that match your specific hole pattern preferences, whether for standard or specialized pegboards. This approach ensures cleaner lines and a more organized setup, saving you time and effort during installation. Proper template selection makes your pegboard both functional and tidy from the start.
Using Spacing Guides
Ever wonder how to make your pegboard layout more precise and hassle-free? Spacing guides are your best tools for that. They help you maintain grid consistency, ensuring holes are evenly spaced and aligned. Using templates or pre-made spacing guides, you can mark out your layout quickly without guesswork. These guides act as a visual reference, making it easier to plan your hole pattern before drilling. By sticking to a consistent grid, your pegboard will look cleaner and more professional. Plus, they save you time and reduce errors, especially if you’re working on multiple sections or a larger project. Incorporating accurate hole placement ensures your design remains tidy and structurally sound. Additionally, proper tool selection can make the process even smoother and more precise. With spacing guides, you can confidently achieve a uniform, well-organized pegboard that’s both functional and visually appealing.
Marking and Drilling Efficiently
To mark and drill your pegboard efficiently, tools like printed templates, laser guides, or adjustable spacing jigs can make the process straightforward and accurate. These tools help you maintain consistent spacing, ensuring your holes align perfectly. Start by labeling your tools clearly—using tool labeling helps avoid confusion during setup. When choosing material, consider durability and compatibility with your tools to prevent unnecessary wear. Use templates to mark precise hole locations, reducing guesswork. Laser guides can project exact lines, making pinpoint drilling easier. Adjustable jigs allow quick modifications for different layouts. Visualize your workspace with:
- A printed template clipped onto the board for quick reference
- A laser guide casting a bright line across the surface
- An adjustable jig set to your preferred hole spacing
These methods streamline your process, saving time and ensuring a clean, professional look.
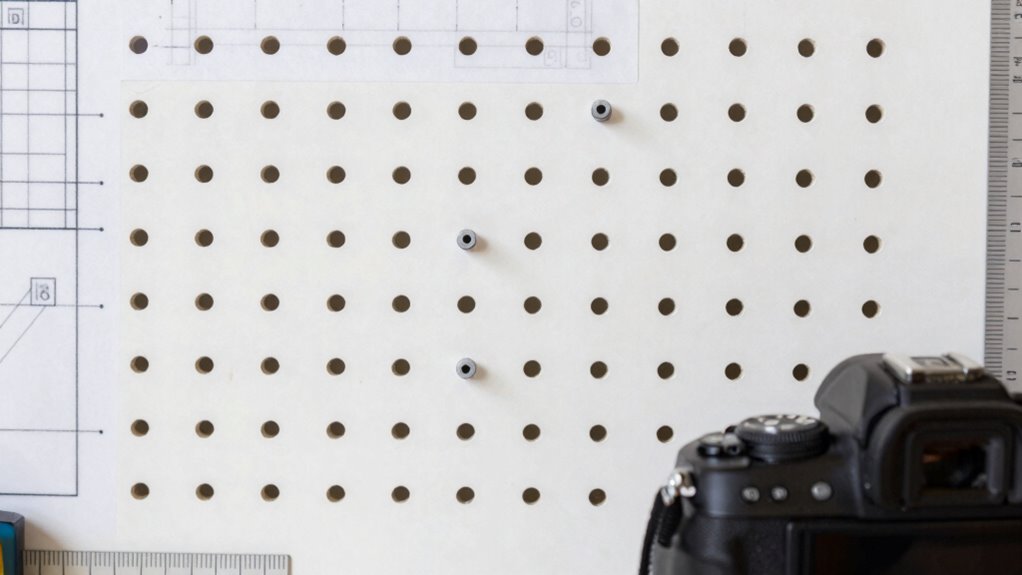
How to Measure and Mark Your Pegboard for Accurate Hole Placement
Accurate hole placement begins with careful measurement and marking of your pegboard. To guarantee measurement accuracy, start by choosing a reliable ruler or measuring tape. Use a square or straight edge to mark reference lines along the edges of the board. Apply precise marking techniques, such as a fine-tip pencil or a marking tool designed for wood, to create clear guidelines. Double-check your measurements before marking each point to avoid errors. Measure distances consistently, such as the spacing between holes and from the edges, and cross-verify with a second measurement if needed. Well-marked lines will serve as your guide, helping you drill holes accurately and maintain alignment. Taking your time during this step ensures a clean, professional-looking pegboard with perfectly aligned holes.
Tips for Installing Your Pegboard Pattern and Keeping Lines Straight
Once you’ve marked the holes, the next step is to install your pegboard pattern while keeping the lines straight. Use mounting techniques that involve level guides or a straightedge to guarantee accuracy. Carefully align your pegboard with the marked holes, maintaining steady pressure as you secure it. Material selection plays a key role; choose sturdy, lightweight boards that won’t warp or bend during installation. To keep lines straight, consider taping a chalk line or using a laser level for guidance. Keep these tips in mind:
Ensure straight lines and precise alignment with level guides, chalk lines, or laser levels during pegboard installation.
- Visualize the pegboard aligning perfectly with your guide lines.
- Use clamps or temporary supports to stabilize the board during mounting.
- Double-check measurements before finalizing to avoid misalignment.
Following these steps makes for a cleaner, more professional-looking layout.
Common Mistakes to Avoid When Planning Your Pegboard Holes
Planning your pegboard holes carefully is essential, because rushing or neglecting details can lead to misaligned or inefficient layouts. One common mistake is choosing an improper drill bit selection; using the wrong size or type can damage your pegboard material or create loose holes. Always match your drill bit to the pegboard’s thickness and material to ensure clean, accurate holes. Another mistake is ignoring the characteristics of your pegboard material, such as its density or fragility, which can cause cracking or uneven edges. Avoid rushing through measurements or skipping a detailed layout plan. Proper planning helps prevent misplacement and ensures your holes are evenly spaced and aligned, giving your pegboard a professional, tidy look.
Adjusting Your Pattern for Different Tools and Accessories
Have you considered how your tools and accessories might require different spacing or positioning? Tool compatibility and accessory variations can influence your pegboard layout, ensuring everything fits securely and functions smoothly. To accommodate these needs, adjust your hole pattern accordingly.
Customize your hole pattern to ensure all tools and accessories fit securely and work smoothly.
- Visualize larger hooks for power tools, requiring wider spacing for stability.
- Imagine narrow slots for small hand tools, needing closer hole placement.
- Think about specialized accessories like bins or holders, which may need custom hole arrangements.
Frequently Asked Questions
Can the Hole Pattern Be Customized for Irregularly Shaped Tools?
Yes, you can customize hole patterns for irregularly shaped tools. By creating custom hole arrangements, you guarantee each tool fits securely and neatly on your pegboard. Start by measuring your tools carefully, then mark the spots for the holes accordingly. Using a drill, make precise holes that match the tool’s shape and size. This personalized approach keeps your tools organized and easily accessible, no matter their unique shapes.
What Materials Are Best Suited for a Durable Pegboard Layout?
For a durable pegboard layout, you should use metal hooks for strength and longevity, especially with heavy tools. Plastic panels are also great because they’re lightweight, resistant to corrosion, and easy to clean. Combining these materials guarantees your setup remains sturdy and functional over time. Metal hooks securely hold items, while plastic panels provide a versatile, weather-resistant surface that withstands daily wear and tear.
How Do I Maintain the Pattern Over Time With Added or Removed Tools?
Did you know that 80% of tool repositioning issues come from inconsistent patterns? To maintain your pattern over time, regularly check the alignment after adding or removing tools. Keep a reference template or use a marker to trace the hole pattern, ensuring pattern consistency. When repositioning tools, follow the original layout carefully to prevent misalignment. Consistent practice helps keep your pegboard organized and your pattern intact.
Is There a Recommended Spacing for Heavy Versus Lightweight Tools?
For heavy tools, you should increase the spacing between holes to support their weight and prevent damage, typically 2-3 inches apart. Lightweight tools can be stored closer together, around 1-2 inches. Maintaining spacing consistency helps keep your layout organized and secure. Adjust the hole pattern as needed based on tool weight, ensuring each item stays stable and easily accessible while preserving a clean, professional look.
Can This Hole Pattern Technique Be Applied to Other Organizational Boards?
Absolutely, you can apply this hole pattern technique to other organizational boards. With thoughtful planning, you’ll find that this pattern promotes perfect placement, precision, and easy customization options. By using consistent spacing, you streamline tool organization, making it simple to swap, store, and access tools quickly. This technique’s versatility means you can tailor it to any board size or style, ensuring your workspace stays neat, organized, and efficient.
Conclusion
By following these simple tricks, you’ll find your pegboard becoming a charmingly organized space that feels just right. A little planning goes a long way in keeping your tools tidy and accessible, making your workspace feel more welcoming. Remember, even small adjustments can make a big difference. With patience and a steady hand, you’ll enjoy the satisfaction of a beautifully arranged pegboard — it’s the little details that truly shine.