
To guarantee safe DIY loft storage, first verify that your floor can support the weight plus fixtures, and reinforce joists or add support beams if needed. Install sturdy shelving anchored to joists, and use appropriate brackets for stability. Make sure the lighting is bright and evenly distributed, and install proper ventilation to prevent moisture buildup. Regularly inspect supports, fixtures, and lighting to avoid hazards. Keep these safety tips in mind and discover more ways to protect your space as you go.
Key Takeaways
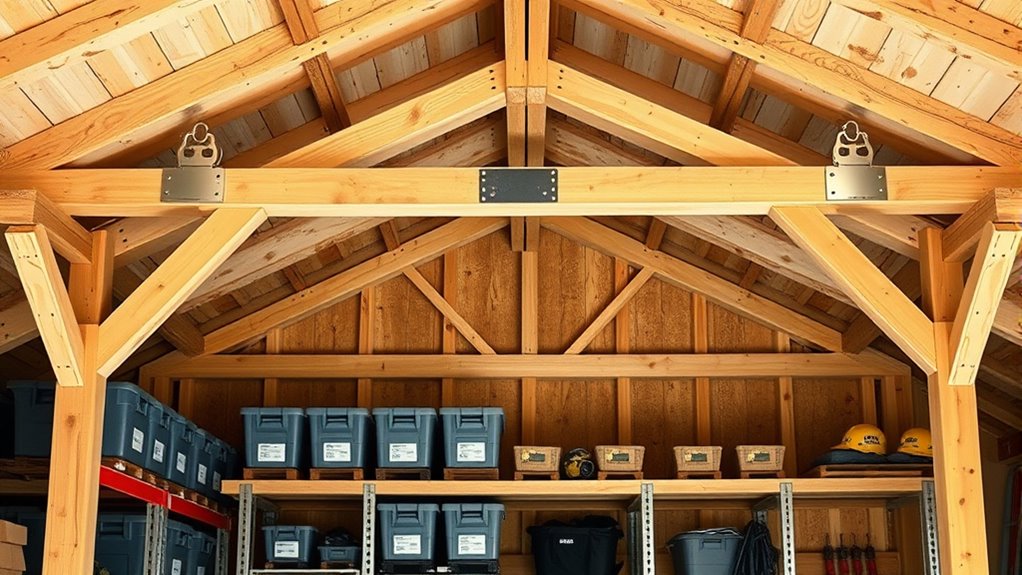
- Assess and reinforce loft joists to ensure they can support added storage weight safely.
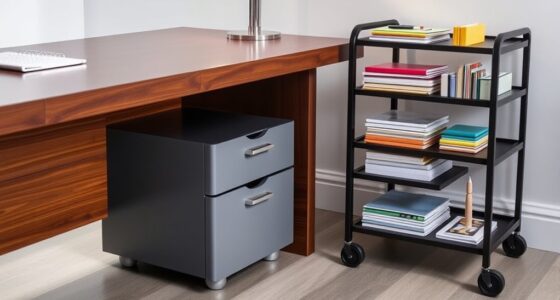
- Anchor shelving and storage units securely to joists to prevent shifting or collapse.
- Install proper lighting to improve visibility and reduce the risk of accidents during storage.
- Ensure adequate ventilation to prevent moisture buildup and protect stored items.
- Conduct regular inspections of structural supports and safety fixtures before and after loading.
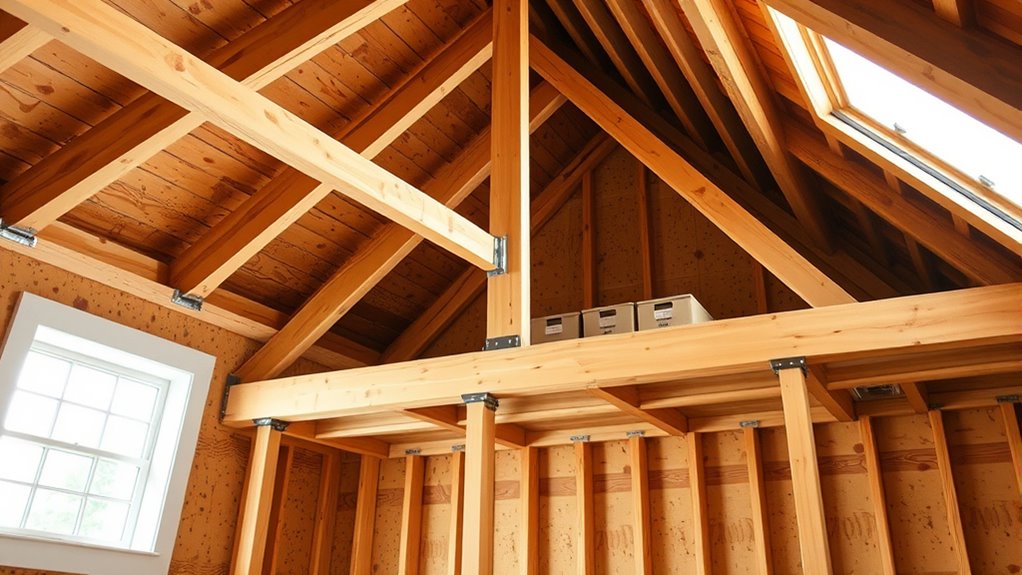
If you’re looking to maximize space in your home, creating DIY loft storage is a smart and practical solution. Not only does it free up valuable floor area, but it also transforms an underutilized space into a functional storage zone. However, safety and structural integrity are essential when undertaking this project. Before you start, make certain your loft’s floor can handle the weight of stored items plus any added fixtures. Reinforcing joists or adding support beams might be necessary, especially if you plan to store heavy items. Always consult a structural engineer if you’re unsure about the load-bearing capacity. Properly anchoring your shelving or storage units to the joists helps prevent accidents and ensures stability.
Lighting is another vital aspect to take into account, both for visibility and safety. Accessory lighting, such as LED strips or spotlights, can be installed along the edges or shelves of your loft storage area. This not only makes it easier to find items but also reduces the risk of accidents in dimly lit corners. When installing lighting, make sure you use fixtures rated for the space, especially if your loft is prone to humidity or temperature fluctuations. Good lighting can also improve the overall usability of the space, making it safer and more inviting.
Ventilation solutions are equally important. Loft spaces tend to trap heat and moisture, which can lead to mold, mildew, or damage to stored items. Installing proper ventilation, whether through vents, small exhaust fans, or passive airflow systems, helps maintain a healthy environment. Good ventilation reduces humidity levels and prevents the buildup of stale air, making your storage area safer and more comfortable to access. When planning your ventilation solutions, consider the size of your loft and the type of items you’ll store. Proper airflow ensures your belongings stay in good condition and minimizes potential hazards associated with poor air quality.
Safety should always be your top priority. Make sure to wear protective gear during construction, and double-check all supports and fixtures before loading items into your loft. Regularly inspect the structural elements and lighting to catch any issues early. Additionally, understanding the risk management of storing heavy items can prevent accidents and damage to your property. By integrating accessory lighting and effective ventilation solutions, you create a safer, more functional, and efficient DIY loft storage space. This way, you’ll enjoy the benefits of extra storage without compromising safety or stability, turning your loft into a reliable extension of your home.
Frequently Asked Questions
Can I Build Loft Storage Without Professional Help?
You can definitely build loft storage without professional help, but it’s important to follow DIY tips for safety and stability. Start by planning your storage organization carefully, making certain the space supports the weight you plan to add. Use proper materials and secure the structure well. If you’re unsure about any step, consulting guides or experts can help prevent accidents and ensure your loft storage is both functional and safe.
What Permits Are Required for Installing a Loft?
Think of permits as the key to unlocking safe and legal loft storage. You’ll need to check local building codes to see what’s required, which often includes permits for structural changes. These guarantee your loft’s structural integrity and safety. Skipping permits risks fines or unsafe construction. Contact your local building department to confirm the necessary permits, and always follow their guidelines to keep your project compliant and secure.
How Do I Ensure Proper Insulation in My Loft?
To guarantee proper insulation in your loft, start by choosing the right insulation materials like mineral wool or foam boards. Install them evenly between rafters, avoiding gaps that can reduce efficiency. Use thermal barriers to prevent heat loss and moisture buildup. Make sure to seal all gaps around edges and vents, maintaining consistent insulation coverage. Proper insulation keeps your loft warm in winter and cool in summer, saving energy and increasing comfort.
What Safety Gear Should I Use During Installation?
When installing loft storage, prioritize safety by wearing the right personal protective equipment, like gloves, goggles, and a dust mask. Use a safe ladder, ensuring it’s stable and on an even surface, to prevent falls. Keep your workspace clear of clutter, and always work carefully and deliberately. Wearing the proper gear, practicing safe ladder usage, and staying alert help protect you from injury during your loft installation project.
How Can I Prevent Moisture Damage in Loft Storage?
To prevent moisture damage in your loft storage, you should focus on proper ventilation tips and installing moisture barriers. Guarantee your loft has adequate airflow by adding vents or fans, which helps reduce humidity buildup. Additionally, lay down moisture barriers like plastic sheeting beneath your stored items and on the floor to prevent dampness from seeping in. Regularly check humidity levels to keep your belongings safe and dry.
Conclusion
Now that you know the ins and outs of building your own loft storage, you’re better equipped to tackle the project safely and confidently. Remember, a stitch in time saves nine—taking the extra precautions now prevents headaches later. Don’t rush the process; patience pays off. With the right planning and care, your DIY loft storage will stand the test of time. Get started, and soon you’ll have a clutter-free space that’s built to last!